
We know that It's crucial to sterilize your cutting instrument with either a lighter or rubbing alcohol each time you use it so that you do not unintentionally spread sickness or disease among your plants. Viruses are the most insidious threat to your orchid collection, because they are invisible to the naked eye and impossible to cure once a plant is infected. There are 2 major factors to spread viruses among your collection
- The most common way that we spread viruses is on cutting tools. It is vital to disinfect cutting tools between plants.
- Sucking insects.
The most common viruses in cymbidiums and other outdoor orchids are CymMV or cymbidium mosaic virus and ORSV or odontoglossum ringspot virus.
How to identify the problem?

The Orchid ImmunoStrip® is trusted and widely used by tissue culture labs, growers and hobbyists as a fast and reliable on-site diagnostic for CymMV and ORSV, the two most prominent viruses found in orchid plants.
ImmunoStrips® require no tools or experience to run. The test is perfect for testing incoming shipments of material, for periodic health checks in the greenhouse, or for testing single plants being brought into your prized collection.
PERFORMING THE TEST
1. Collect a sample section that is approximately 3/4 inch square. Since orchid leaves vary of thickness it is recommended to use a scale to weigh the tissue.
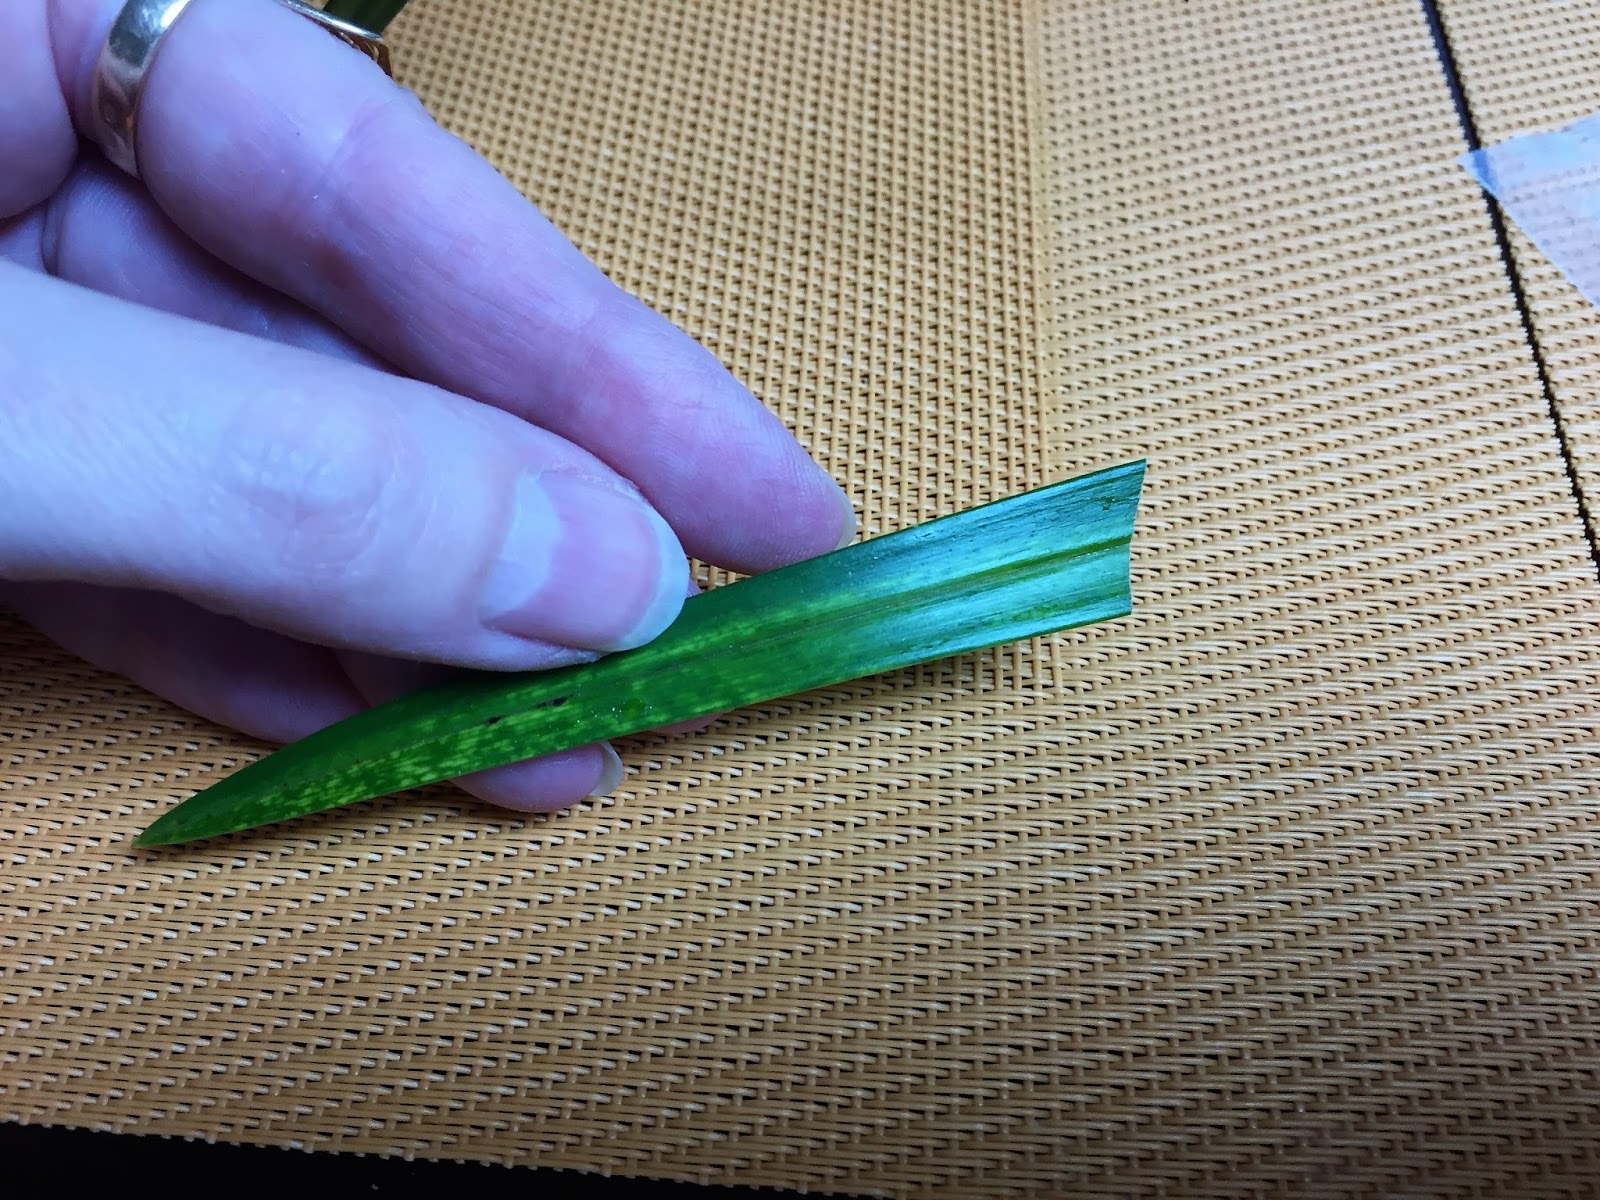
Note: It is recommended that you use a clean cutting tool for each sample. If you must reuse the cutting tool, first wipe off the cutting edge and disinfect in a 10% bleach solution before cutting into a new sample.
2. Cut open the sample extraction bag along the top of the label. Be careful not to spill the buffer.

*SEB1 Buffer is required to perform this assay
3. Insert the sample between the mesh linings near the bottom of the sample extraction bag.
4. Extract the sample by thoroughly macerating it with an Agdia tissue homogenizer or a blunt object such as a pen or marker.

Depending on the sample type, the extract may be too thick to wick up the strip properly. Further dilution may be required. Contact Agdia for sampling assistance
5. Remove an ImmunoStrip then reclose the container.

Insert the ImmunoStrip into the channel portion (no mesh) of the buffer filled bag until submerged in the extract up to the white line. Do not allow the side of the ImmunoStrip to come into contact with foam or bubbles (if present). Trimming the bag may also allow for more control when inserting the ImmunoStrip into the bag.
*Be sure to insert the “sample” end of the strip no more than ¼ inch or to the white line on the ImmunoStrip label.
6. Place the bag in a letter holder or other device in upright position. Allow the ImmunoStrip test to remain in the sample extract for 30 minutes. Positive results may be visible in as little as 5 minutes. Lower titer samples may take up to 30 minutes.
7. Interpret the Result
Remove test strip from extract and interpret results. Use the images provided as a guide to determine results. If storing the strip as a permanent record, immediately cut the sample pad off the strip, then press the ImmunoStrip between paper towels to remove excess liquid.
If the control line is visible and the test line is also present at any intensity of pink/ purple, this indicates a positive** result.
If only the control line is visible, this indicates a negative result.
The control line assures that the test is working properly. If the control line does not appear, the test is invalid, even if a test line is visible (see troubleshooting).


Watch this video How to detect easily viruses on Orchids?
I bought this KIT from Agdia, Inc, so, If you have any questions about using these kits, please contact Agdia, Inc www.agdia.com
Considering the cost of plants today once a plant has become infected it is impossible to cure, so, would you sterilize the cutting tools or risk infecting others
-use the same pot, or a new sterilized pot
-sterilize your cutting equipment performing each repotting.
If you have any questions do not hesitate to ask me, and I will reply as soon as possible.
How do I order the Cymbidium Mosaic Virus/Odontoglossum Ring Spot Virus Test
ReplyDeleteI bought this KIT from Agdia, Inc, so, If you have any questions about using these kits, please contact Agdia, Inc www.agdia.com
ReplyDelete