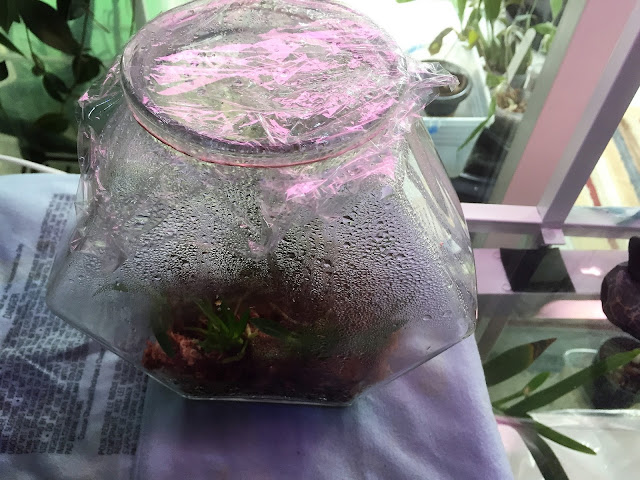
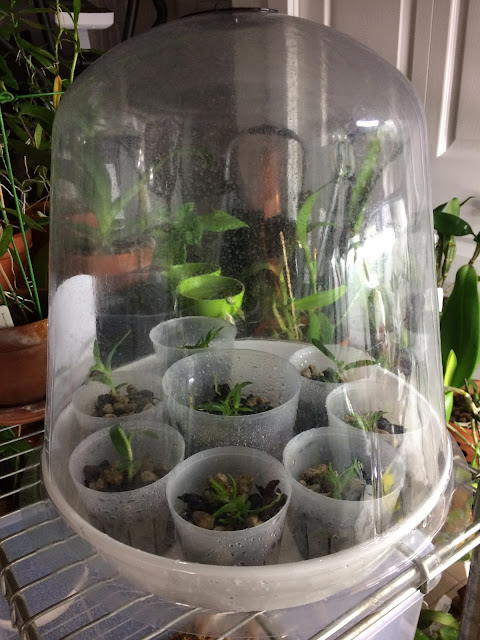
We ordered 2 flasks from Ching Hua.:
- Cattleya Warscewiczii var. coerulea 'Hsinying'
- Paph. Liberty TaiwanLet's talk about this process in terms of time of deflasking, how to remove seedlings from flask, how to pot seedlings up, and how to care of seedlings after deflaskings.
When do you deflask?
The best time to deflask is in the spring or when you can provide a warm temperature of about 25-30C to encourage continuous growth of seedlings. In a greenhouse environment Spring or Fall take advantage of outdoor weather. In the home , place the orchids in a warm spot with adequate light.
Receiving a flask doesn't mean you have to do deflasking right away unless the media shifted during shipping. You may tap the media, so, the seedlings are upright in the container. If the majority of seedlings are in the media, and of adequate size, it is time to take them out. Usually you can see well developed roots at the bottom of the flask, and sufficient leaves to handle the pant. (But you can usually store a flask for several months if needed)
How to remove seedlings from a flask?
Some growers provide orchid seedlings in plastic containers with easily removable lids. Most orchid flasks arrive in glass containers with narrow openings. In this case, the best way to remove plants is to wrap the flask in layers of newspaper or old towels and gently tap the bottom to break the glass. Wear gloves and be careful to avoid cutting your fingers.
Rinse seedlings in warm water (room temperature). DO NOT soak them. You can gently rinse off agar (the jelly like media in flask) easily. After rinsing off the agar, place the seedlings on a clean moist sheet of newspaper and allow them to dry off a little. This takes about an hour or two.
How to harden off seedlings and pot them up?
I like to plant seedlings from a flask into a community pot that is 5-6 inches in size, filled with 50% Styrofoam peanuts at the bottom, and 50% NZ sphagnum moss. Place the seedlings loosely over the moss, and gently tuck in the roots. It is best not to completely cover the roots with moss at this stage. Just enough so that the seedlings can stand upright. You do not want to have water collect in the crown of the plant, where it can cause rot.
It is important to keep the humidity high initially. This is done easily by placing pots in a larger container covered with moist newspaper 90% or saran wrap allowing a crack for ventilation. For a few or one plant, use a plastic baggie with the top folder over. It can be progressively be opened to harden off the plants. (one hour, then two hours per day etc.)
Keep the moss moist and keep the seedlings covered the first two days. It's better to use a spray to mist the moss, than to water. Keep the community pots in shade and gradually increase the light to seedlings. This can be done with layers of paper towels. It's important to keep humidity high, otherwise the tips of leaves could wilt - although it does not harm the plants.
It's necessary and not recommended to use fungicide initially.
It takes about 2 weeks for seedlings to adjust their new 'drier' environment outside the flask. After a couple of weeks you may repot the larger seedlings individually to larger pot, and use the medium you prefer, such as finely ground bark with perlite and charcoal added.
If you have any questions do not hesitate to ask me, and I will reply as soon as possible.


No comments:
Post a Comment